
Caring for your vehicle after correction or ceramic coating / cleaning best practice
This page provides you with tips and guidance for reducing damage to your vehicle when cleaning it or applying sealants and waxes for example.
Some of you may not have access to power or be able to carry out all of the steps below, but by following as many of these steps as possible you will reduce the risk of damaging your paint.
Avoid cleaning your car in direct sunlight or on hot days as the water and products will dry quickly and could leave marks. In summer it’s best to leave cleaning as late in the day as possible.
Never use a sponge – these are essentially ‘grit pockets’ and will capture the dirt and drag it around the paintwork causing damage. You should use a wool mitt or microfibre cleaning mitt, both of which are inexpensive.
Start with the wheels (using a different bucket!) as they are generally the dirtiest part of the vehicle. Use a long soft brush to get behind the spokes on alloy wheels and only use de-ironiser after the wheels have been thoroughly cleaned.
If heavily contaminated (dirty), start by loosening the dirt with a pre-wash, citrus spray or all purpose spray on the dirtiest areas. After 5 mins pressure wash the citrus spray off (or equivalent) or a hose if you don’t have a pressure washer.
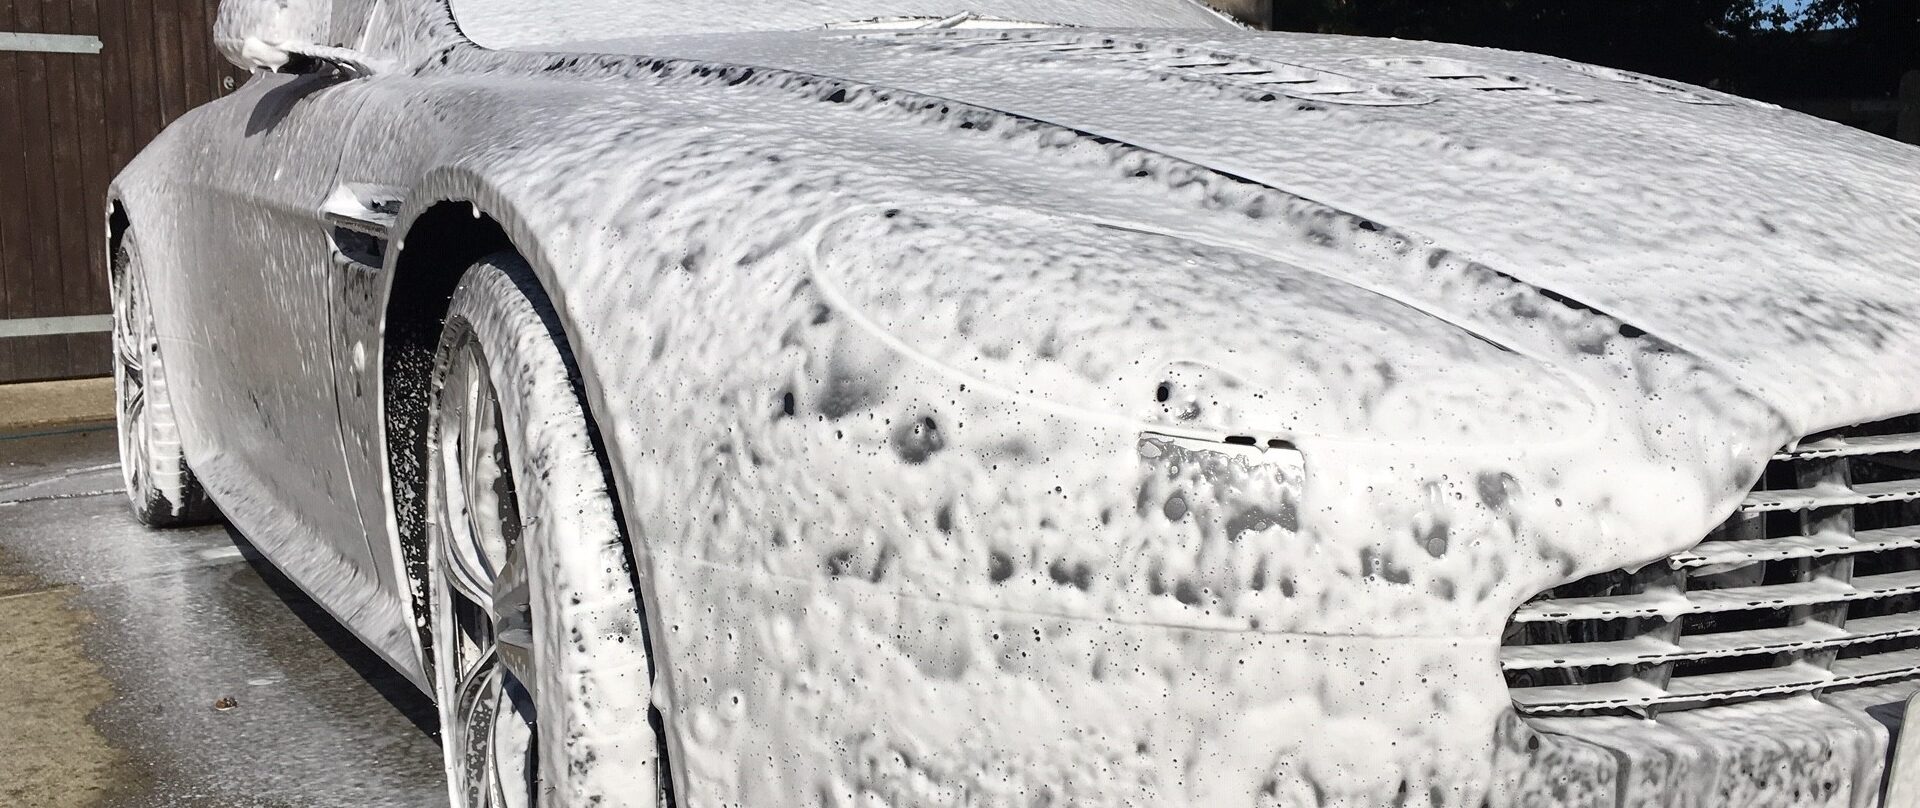
Snow foam is ideal for loosening and lifting dirt off of paintwork without having to touch it, and can be applied with a pressure washer or hose with good water pressure. Don’t leave the foam to dry out, but it needs around 5-10 mins to soften and lift the dirt depending on thickness and temperature. A soft exterior brush can be used to clean around windows, grills, door handles, mirrors, badges etc. Remove the foam with a pressure washer or hose.
Always use two buckets. One contains clean water to rinse your mitt after every contact. The other bucket contains a high foam shampoo and both buckets should have grit guards to keep dirt away from your cleaning mitt. Clean your vehicle in straight lines with light pressure and never aggressively rub marks such as bird lime, fly marks or tree sap.
If your paint surface is smooth to the touch you can apply a hydrophobic product at this stage which will make drying the car easier. When drying you should ideally use a deep pile microfibre drying towel to dry the vehicle. Do not use a chamois leather as this will drag remaining contamination around the paint causing damage. You can use air (such as a car or pet dryer) to dry the car which reduces the need for physical contact further.
For heavily contaminated vehicles you may need to use a tar remover, de-ironiser (to remove iron fallout) or a clay bar or clay mitt before the paint can be polished, waxed or sealed. You may want to re-shampoo or hose the car down depending on what products are used at this stage.
Techniques and cleaning environments will vary so find the best combination that works for you.
Remember – “never try to polish, wax or seal your paint (manually or by machine) until the paint is completely free of contamination as this will cause further damage to your paint”.
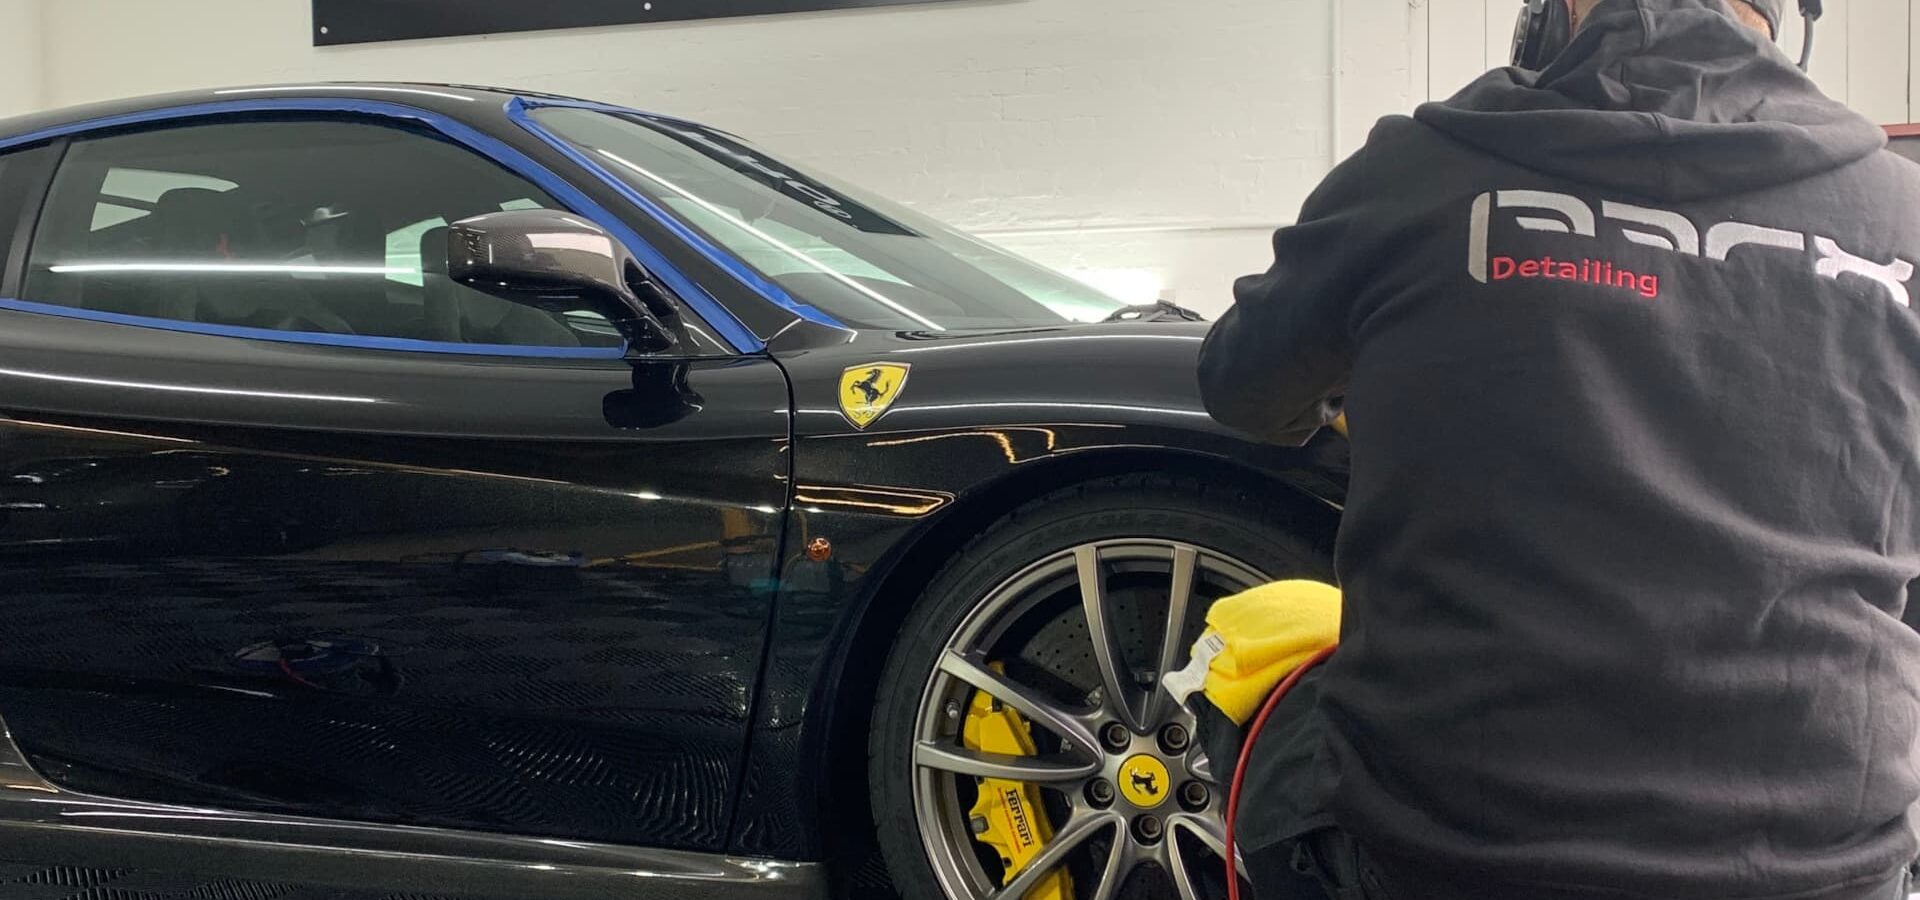
NB. Parx Detailing offer all customers an exclusive aftercare service where you’ll be walked through all of the correct cleaning techniques along with the various products I use while your vehicle receives a safe maintenance wash and coating top up.
If you require any support or would like to purchase any cleaning products or equipment, please contact us.
Read Our Latest Reviews

Would really recommend using Dave, he’s experienced and exceptionally professional! He did a fantastic job
Dave provided a professional and efficient service and very pleased with the end result. I had a nasty chip and dent which is barely noticeable. I would highly recommend Parx Detailing to anyone who loves cars…. and already have!
Top job, very pleased!
Living in the countryside and using a car wash my paintwork has suffered but Parx Detailing restored the paint to new
Had my Cobra detailed by Dave at Parx Detailing. He came very highly recommended and I can quite happily say I’ll definitely use him again. Very professional from first contact to the finished product
My 8 year old R8 looks brand new as promised! Dave’s knowledge and enthusiasm, mixed with a healthy dash of OCD for all things petrol based, is huge! Money well spent
Parx Detailing offered a highly professional service and showed great attention to detail and went above and beyond to make my car look amazing again
Thank you for all the work on my Audi S2, I had been considering a respray. However having it detailed has made it look like new and at a fraction of the cost of repainting. Very happy, thanks again
Car looks beautiful and sparkly and the rain is just running off
Thanks again for your restoration work on my Thunder Cat, total transformation
Parx Detailing provided an excellent service and very knowledgeable. Faced with a very expensive bill for new lights, Dave had them looking like new as well as a very clean car. More than happy with results. I will be back again for detailing and Ceramic coating
Looks great, cracking job, thank you!